
Whether you’re looking to save money on a makeup artist, back yourself as better with a brush anyway, or are having an overseas wedding where every makeup artist’s portfolio is full of Dracula-looking characters, doing your own wedding makeupis an option.
After all, who’s going to know what you like better than you do? Especially if you’re already an avid beauty lover who does her makeup on the daily.
If you do decide to DIY, here’s some tips from LUMA Beauty’s Makeup Artist, Sarah Tammer, to help you prepare in the lead up and seamlessly nail it on the big day…
RELATED: 14 stunning wedding makeup looks that will stand the test of time
RELATED: Your ultimate pre-wedding skin care guide
#1 Prep your lashes in advance
Unless you’re well-versed in the art of false eyelash application, Sarah recommends prepping your lashes before the big day. ” I would have a very natural lash lift or extensions professionally done”, she says. This way you’ll already have a lot of length and definition, and just a few coats of mascara (or a quick brush through) will do.

Don’t want to fork out for a professional treatment? Tint your lashes at home with using 1000 Hour Lash & Brow Dye Kit a week before and then curl on the day using the Heated Eyelash Curler.
#2 Do plenty of trial runs
Practice makes perfect and it’s important to do a trial run regardless of whether you’re DIY’ing or going with a professional. “After the trial makeup applications, when you’re ecstatic with your glorious look, be sure to wear the makeup for an extended period of time so you can see how it wears”, says Sarah. “That way if anything needs tending to, you’re aware and ahead of the game.”
“Things to look out for include oiliness, especially in the t-zone, whether your foundation has become cakey, and any creases under your eyes or on your eyelids and smile lines. It’s also good to test whether your makeup has flashback by taking a photo with your camera or phone with flash once the makeup is complete.”
On the day, Sarah recommends allowing yourself two hours to do your wedding makeup. “This will ensure you have enough time to correct any errors you make with a cotton tip and makeup remover.”
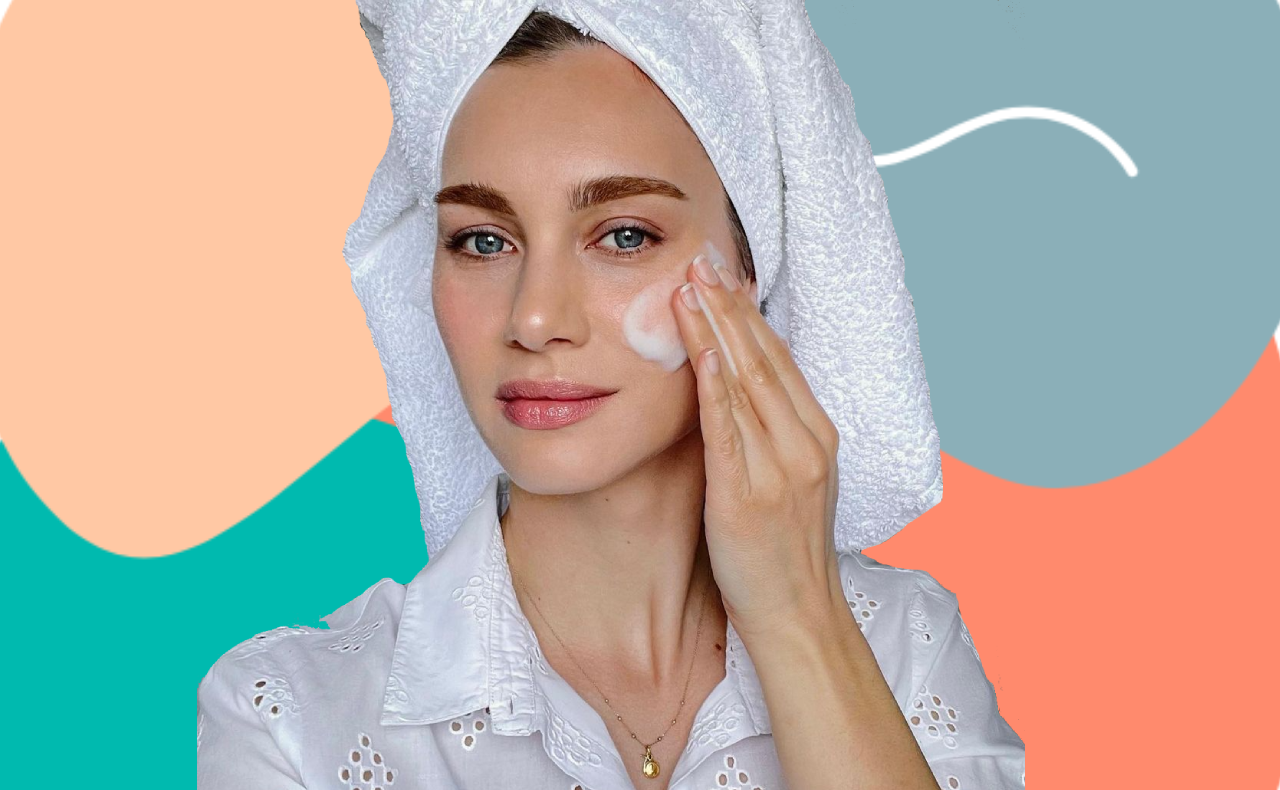
#3 Start with skin care
For the most glowing base possible, it’s always best to start a bridal skin care regimen a few months pre-wedding. But skin care shouldn’t go amiss the morning of your nuptials either. Cleanse and moisturise as you normally would, and then follow with a hydrating primer.
“Priming is essential to help finesse your foundation, ensuring your skin stays flawless for as long as possible”, says Sarah.
“Primers are excellent for keeping oil at bay, while filling fine lines and providing a smooth, ultra-hydrated canvas for your foundation.”

bh recommends: Luma Base Perfecting Priming Moisturiser
#4 Avoid products containing zinc
To protect yourself from suffering at the peril of camera flashback, Sarah says, “Don’t use anything with white zinc i.e sunscreen or any heavy pale foundations or powders”. So let yourself off the ‘SPF every day’ hook, just this once.
#5 Mattify where needed
It’s a fine line between ‘glowing’ and ‘sweating’, so once you’ve got your base just right, make sure to set with a finishing powder in any areas prone to oil (we recommend Laura Mercier Translucent Loose Setting Powder, $60, mecca.com.au). “Blotting papers are also brilliant to pop into a touch up kit for removing unwanted shine in the t-zone throughout the day”, says Sarah.

#6 Blend, blend, blend
Blending is the key to every good makeup look, so make sure your wrists are at the ready on D-day. “Blending will give you a smoother, more flawless coverage over all and ensure your makeup looks chic and camera ready at the same time”, says Sarah.
Sarah’s secret pro tip? “If I’ve been trying to blend a cream or powder product for ages and it feels like it’s not happening, I take my Real Techniques sponges with some of the foundation or a setting powder on a medium soft powder brush and layer and blend over the top to smooth away any hard lines.”
#7 Don’t forget about the kiss
When it comes to choosing a lip colour, you do you, but don’t forget you will have to kiss your newly wedded soulmate at some point. “I love natural blush tones that are rosey, like a natural lip colour with a little more intensity, but I’m also a big fan of a red lip, which looks stunning on a bride in all white”, says Sarah. Our solution? Keep it safe for the ceremony (“you may now kiss the bride”) and then embrace the bold at the reception.

bh recommends: Bobbi Brown Luxe Lip Colour in ‘Almost Bare’, Mary Kay True Dimensions™ Lipstick in ‘Rosette’, Charlotte Tilbury Matte Revolution Lipstick in ‘Pillowtalk’ ($49, charlottetilbury.com), Rimmel London Kate Moss Matte Finish Lipstick in ‘#111’ and essence Longlasting Lipstick in 02.
#8 Pack a touch-up kit
Have a bridesmaid or friend carry a touch-up kit on the day so you have products on-hand at all times. Sarah recommends filling it with, “blotting papers and translucent face powder to remove any unwanted oiliness, as well as your chosen lip colour or gloss.”
“Consider packing a little eyebrow brush to ensure brows are kept in place, and if you have gone for a smokey eye with eyeliner on the waterline, it’s a good idea to have this eyeliner in your touch up kit as well”, she says.
Also pop in some tissues, a couple of cotton buds, and some bobby pins – they’ll always come in handy.
Would you/did you do your own wedding makeup? What’s your best tip for long-lasting makeup?

Loved that hints for my sons wedding I’ll need to do my own makeup
I had a family member do mine. It was perfect.
Wow PC I’d never thought of that! Great idea if you’d have someone around like that! xo
Great article!! I want an eyelash curler – I’m on the hunt!