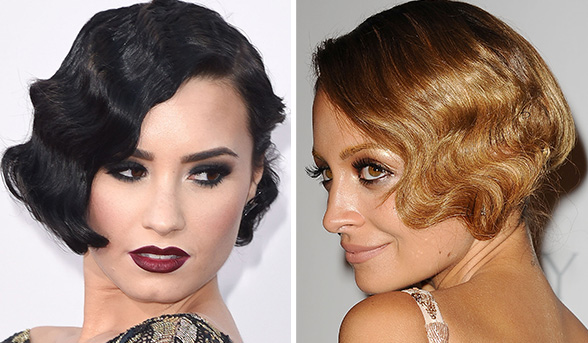
When it comes to glamorous hairstyles, finger waves would have to be my favourite.
They’ve been around since the 1920s and still make a regular appearance on the red carpet. Talk about a beauty look that never goes out of style!
As well as being very pretty, finger waves are also incredibly versatile (updo or tumbling tresses, the choice is yours).
Let’s take a look at the history of the finger wave, right up to the latest take on the hair trend and how to pull it off yourself…

Why it’s called a finger wave
Popular in the 1920s and 30s, the finger wave was originally developed to soften the hard appearance of the bob hairstyles that were common during the flapper period. Many Hollywood movie stars were seen wearing the waves, which made them even more chic.
In the absence of modern styling tools, setting hair into the desired curls was easier said than done. It involved shaping it while wet into ‘S-shaped’ curved undulations using your fingers and a comb. The waves then needed to be dried without being disturbed. A lotion was sometimes also applied to the hair to help it retain its shape.
Marcel waves: The modern finger wave
Marcel waves are often confused with finger waves, as the two styles are very similar in appearance. The difference? Marcel waves came after the invention of hot curling irons and tongs, making them a more permanent (not to mention easier to achieve) style.
Marcelled hair was often also seen in conjunction with a bob cut. Some trivia for you: The doo-wop group The Marcels were named after the hairstyle.

How to do a finger wave: The Old-fashioned way
What you’ll need:
- A comb (try Mason Pearson Comb Styling or Scunci Double Lift & Tease Comb)
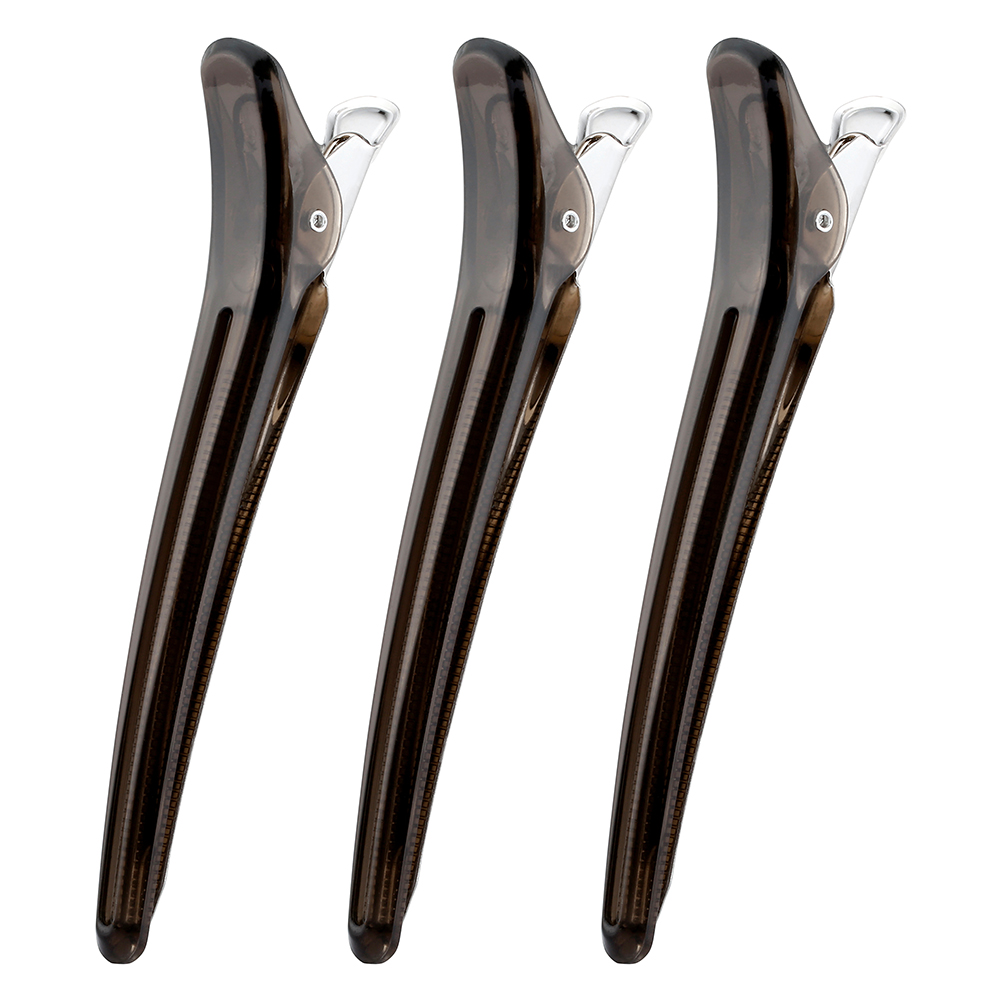
- Hair clamps (try Lady Jayne Section Clips or Freestyle Home Salon Pro-Clips)
- Hairspray to finish (try Cedel Extra Firm Hairspray or Indola Innova Sculpture Hairspray)

- Wash your hair and blot it with a towel so it’s not dripping wet, but still damp.
- Comb your hair forward on the bigger side of your part.
- Place your forefinger parallel and near your part and press down to keep the hair in place.
- Carefully comb the hair on the outside of your finger backwards, keeping your finger firmly in place so the hair underneath it stays in its forward-combed position.
- Position your middle finger next to your forefinger, using your middle finger to hold the hair right next to your forefinger in its backward-combed position.
- Pinch the two fingers together and secure the hair where it curves inwards with a metal clamp, running parallel to your part.
- Make more waves by combing the hair right next to the clamp forwards, repeating the previous steps in reverse.
- Let your hair dry fully (if you take the clamps out while your hair’s still wet, the waves will fall out).
- Once your hair is completely dry, remove the clamps to reveal your new finger waves.
- Finish the style with hairspray to keep the waves in place!

Image credit: TONI&GUY Youtube
How to do a finger wave: The quick way
Beauties may prefer to achieve a finger wave-like look using the ‘S-wave’ technique. All you need is a hair straightener for this one, and while it takes a bit of practice in the beginning, it’ll save you lots of time! Check out the video here.
The new finger wave
One of the biggest beauty trends this autumn, the new finger wave involves styling just a small section of the hair, leaving the rest of it in a casual low bun or relaxed down ‘do. Low maintenance beauties will love this look, as it takes next to no time to create.
For this sleeker take on the style, swap your hairspray for a high-shine styling product such as TONI&GUY Creative Stick It Up Gum or Eleven Australia Slick Hold Styling Pomade.
Have you ever tried the finger wave look before? What’s your top tip for nailing the classic hairstyle?