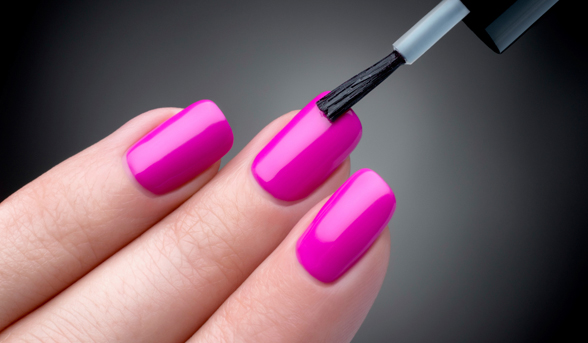
Gel nail polish has truly revolutionised the world of manicures. First of all, a gel polish will make your nails look gloriously glossy; then there’s the whole long-lasting factor, with a gel manicure usually lasting up to two weeks without chipping.
So what if you want to achieve that salon-quality result without actually leaving your house? A DIY gel manicure is incredibly easy to do once you’ve got the right tools and a handy step-by-step to guide you through the process.
Wipe your nails clean using a lint-free wipe and the SensationNail Gel Cleanser.
Step three:
Apply one coat of the Gel Primer on your nails and allowed it to air dry.
Step four:
Next, I apply a thin layer of the Gel Base & Top Coat and ‘cap’ your nails by running the brush along your nail tips. Then, pop your nails under the LED lamp provided for 30 seconds to let your nails cure (in other words, to let the coat set.)
REALLY, REALLY IMPORTANT: don’t get the Gel Base & Top Coat on your skin or cuticles. Once cured, this layer will harden on your skin. After a few hours it will come off, but it will most definitely effect the quality of your manicure and will leave rough edges. So be very careful to apply it only on your nails.
Step five:
Time for colour! Paint one thin layer of the coloured Gel Polish (I picked Blue Yonder, a gorgeous navy), again being sure to avoid your cuticles and skin. Then, put my fingers under the lamp for 60 seconds, apply a second coat of colour, and cure them under the lamp for another 60 seconds.
Step six:
Once the colour is done, apply a final thin coat of the Gel Base & Top Coat and cap your nails, and cure my nails for a final 30 seconds.
Step seven:
To finish off, use another lint-free wipe with gel cleanser to remove the layer of moisture on your nails.
The application process is pretty quick and easy – it didn’t take me longer than 15 minutes to do it all. Plus, there was no pesky drying time, which is a huge bonus for those who hate waiting for their polish to dry properly.
In terms of the results, you’ll notice that gorgeously glossy finish you love about a salon gel manicure. That shiny finish should last all the way up until you have to remove the gel polish (after about two weeks).
And FYI: you can really put my nails through their paces to test the chip-free finish, and you’ll notice nothing – not even frequent hand washing or package opening – will affect the quality finish on your nails.
Have you ever done your own gel manicure at home? Would you like to try it?