
Since the beautyblender® launched in 2008, many of us have fallen in love with the unique design, multi-purpose use and flawless finish of this little sponge. And even if you don’t own the original beauty blender, chances are you have something similar and just as life-changing, like the Real Techniques Miracle Complexion Sponge or QVS Professional Foundation Sponge.
But just in case you’re not aware of how magical these sponges can be, here’s a list of things they are incredibly useful for.
RELATED: 9 hairspray hacks you need to know
RELATED: 10 unsual ways to use paw paw ointment
#1 Primer
A beauty blender can be used right from the beginning of your make-up application, starting with primer. One of the main purposes of primer is to help ‘fill in’ your pores for a smooth canvas before applying your foundation. When used with a dabbing motion, the beauty blender does this expertly and with more density than your fingers, so your pores are filled in with compact. And the pointy end is perfect for applying primer to your eyelids.
#2 Foundation
If you’re only going to use your beauty blender for one thing, it should be foundation. The different edges and shape of the sponge means you can go from blending in larger areas like your forehead and cheeks to getting right into the edges of your nose, without skipping a beat. Not to mention streaks are simply non-existent. For more coverage, use a dabbing motion or if you prefer a sheer ‘no make-up look’ use sweeping motions. It’s also best used damp, so that the majority of your foundation ends up on your skin, rather than soaked up by the sponge.

#3 Contouring & highlighting
It’s already pretty obvious from the name that this little applicator is going to be a boss at blending your contouring, but it can also be used for the precise application. Use the thick end for highlighting under your eyes, the tops of your cheekbones and middle of your forehead. The pointy end can then be used to draw precise contour lines in the hollows of your cheeks, the edges of the nose and temples. Then just use the sides to blend, blend and blend!
RELATED: The dos and don’ts of makeup brush washing
RELATED: 8 beauty tools you’re forgetting to clean
#4 Cream blush
If you prefer using cream blush rather than powder, the beauty blender will change your life in terms of application. Start by dabbing onto the apples of your cheeks, and then sweep it outwards and upwards towards the top of your ear.
#5 Concealer
The pointy end of a beauty blender is ideal for adding extra coverage to pimples and blemishes with precision. Sometimes, we can accidentally blend away our concealer too much when using our fingers or a brush, completely defeating the purpose. But by using a targeted, dabbing motion, you’ll find you have more success with your camouflage.
#6 Lip colour
Want your lipstick to lasts and last? It’s all about layering. Use your beauty blender to build up an intense, long-lasting bold lip, using the same dabbing motion you use to build up coverage in your foundation. Using the sponge to apply it instead of straight from the bullet will give every lip colour you own more versatility. Plus the pointy edge of the sponge will help keep your colour precise every time, while lipsticks tend to loose their shape after multiple applications.
#7 Face tan
The original beauty blender is pink because the founder, make-up artist Rea Ann Silva, said it was her favourite colour and she wanted it to be fun, just like makeup should be. BUT once people realised how amazing it was at applying face tan, a black one was released so people could have one for tanning, and one for makeup. The unique design of the sponge helps you to apply your tan in every nook and cranny, with a streak-free finish (kind of like a mini mitt for your face). So if you like your tan to look as flawless as possible, two beauty blenders is the perfect number for your kit.
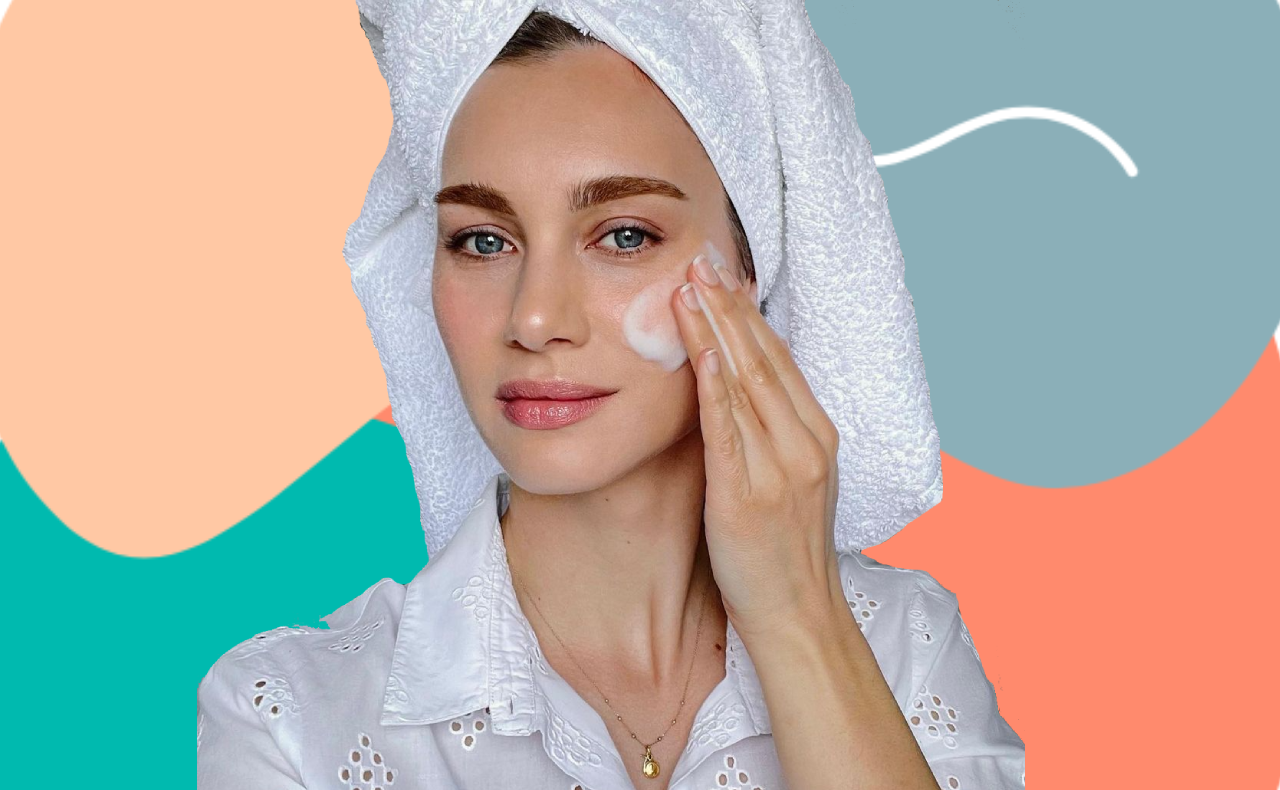
#8 Skin care
Okay, so we lied, three beauty blenders would be the perfect number (yep, there’s also a white version), which works wonders for applying skin care. It allows for a smooth application of moisturiser, which you can then buff into your skin to penetrate it further. And the pointy end is ideal for delicately applying eye creams. Same goes for serums, cleansers and as mentioned previously, primer. Is there anything this sponge can’t do?
Try:

- Natio Complexion Perfection Foundation Sponge
- Manicare Precision Blending Sponge
- Real Techniques Miracle Complexion Sponge
- QVS Professional Foundation Sponge
- beautyblender®, $30, Sephora Australia
*This article has been updated since its original publication.
Main image: @beautyblender
Have you ever tried a beauty blender or a similar sponge applicator? Did you know it could be used for all of the above?


I have tried the Manicure one but I couldn’t get the hang of it & see the purpose. I find that my fingertips give me the best result. After applying blusher; highlighter & eyeshadow, I use my blending brush.
I use only foundation brush.
I use only foundation brush.
I use only foundation brush.
I use only foundation brush.
I’ve never seen much value in using these.
i have one but wasn’t sure how to use it. Thankyou for not only telling me but showing me how to use it:)
I use the Manicare beauty blender and find it’s so much easier to apply my foundation now than before when I was using my fingers.
I use the Manicare beauty blender and find it’s so much easier to apply my foundation now than before when I was using my fingers.
I use the Manicare beauty blender and find it’s so much easier to apply my foundation now than before when I was using my fingers.
I have one of these somewhere, but have never used it; I much prefer using my (scrupulously clean) fingers, there is far less product wastage.
I have beauty sponges, but I’ve got to admit to using brushes lately
Never used one, but there are so great suggestions here….
I have few sponges and I use them.
I have few sponges and I use them.
I really need to use my sponges. I bought some but after a few uses I got slack but you really do noticea difference when you use them.
Ooh sounds so good and I have never used one before
I still haven’t made good use of my blenders but while I’m now home in semi self-isolation I’ll be able to practice to get the technique right.
I’d want different ones for different uses but I usually use my fingers – maybe not so hygienic these days!
I actually thought they were Easter eggs when I first saw the photo.
Dayuum who knew you could use it for lip colour as well as cream blush didn’t ever think about that. Awesome article
I’m not sure if I’d use a sponge to apply lipstick because I doubt that you could get a precise application with it.
I have a few of these!
exactly.
I never thought to use it to do my primer. Will have to try that for sure.
Agree with all apart from skincare or lipstick!
That’s a good point! It might make you look like you kissed someone.
I need more videos on how to use it properly.
I’ve reported Dawngryder as spam.
Some interesting tips. Would like to try some if I get one of those and remember these.
Do you know this is a beauty website? And why would anyone from Australia want to use services from the US?
I don’t own one. But this tips really helpful.
Me too, Sally! I’ve reported them on the “Serial Spam” thread on the forum, too. Spam gets removed a little bit quicker when it’s reported there.
I have a lot of sponges and they just sit it the cabinet. I always seem to turn to brushes.
I keep forgetting to use mine when applying foundation. It soaks up a lot of stuff so I’m not sure about applying skincare products with it.
I have tried a sponge but then ended up using fingers as there seems to be so much waste.
So you need several of these
Reported dawngryder as spam
Oh i have never had one
I can’t see any need for a sponge being used to apply lipstick. Petal, I do realise this comment is 18 months old but it is still relevant.
I have a few sponges, but never really got how to use them. Still so much easier (and less wasteful!) applying liquid foundation with my fingers!
After using the Real Techniques Miracle Complexion Sponge for a long time, I started using sponges from other brands, but I recently went back to it. I also have started using the sponge by EcoTools.
Sephora have great beauty blenders